Creating a no-code backend REST API
LightSwitch API lets you spin up a fully functional no-code backend REST API, in a few clicks.
The no-code backend API Builder helps you define Models, Fields, Relationships and Access Rights. You can design a no-code backend REST API and have it operational in a matter of minutes. We also spin up a database in the background, so all your data can be saved securely.
Check out the video below.
Before we start, let's quickly go through some of the main building blocks of a no-code backend REST API.
Models
Data entities in your application. In this tutorial we will define models to keep track of lists and tasks.
Fields
Each model can have one or more fields - a singular bit of data of a certain type, like text, dates or numbers.
Relationships
How models are connected to each other.
Access rights
Lets you define how data can be accessed by different types of users. More on this on the next page.
Let's build our first no-code backend REST API.
Go to Service Builder.
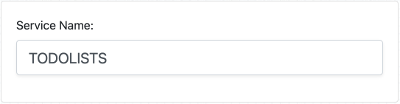
Give a name for your REST API. For our sample app, we'll name it TODOLISTS.
Add a new model Lists. Add a Name field with a Varchar data type with a Length of 200.

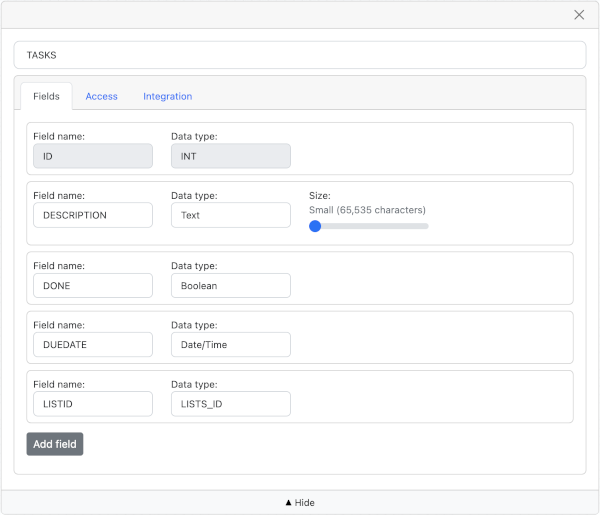
Add another model named Tasks. Add the following fields.
- Description field with a Text data type. Leave Size as Small.
- Done field with a Boolean data type.
- DueDate field with a Date data type.
- ListID field with LISTS_ID data type (linking the field to the Lists model above).
Click the Publish service button and wait for your service to be deployed.

That's it!
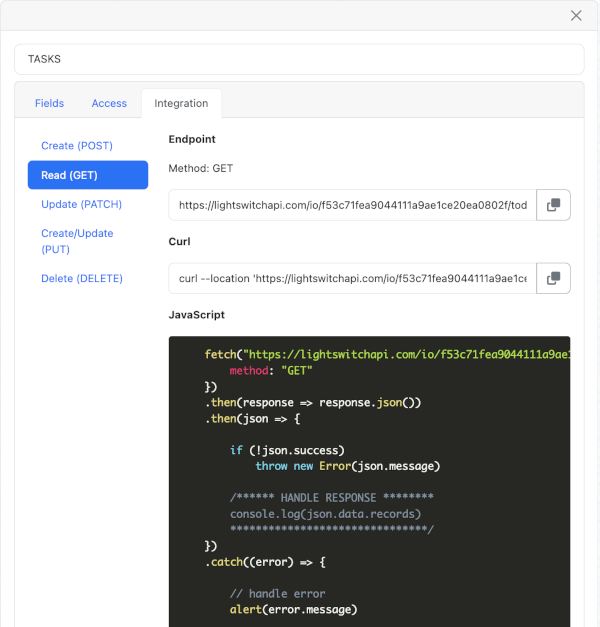
Switch to Integration tab to see how you can connect to the newly created no-code REST API.
Next, we will configure access permissions for each model.